0.05 micron per minute at room temperature, 0.1 micron per minute at 40 °C
Worked example
15 cm² at 0.1 micron = 0.3 amps for about 2 minutes at room temperature (about 1 minute at 40 °C), then top up with about 0.13 ml of Rhodium Tank Replenisher
Lower the work into the solution, then switch on the power to start plating. If you’re using a MultiPlater, lower the work in with it in Standby, then switch it on.
Bright finish
Stays bright throughout the plating range on polished work.
Maximum thickness
1 micron. For most work, 0.1 – 0.3 micron is enough.
Looking after the solution
Topping up
Top up with two solutions: Rhodium Tank Replenisher (14 g/L rhodium) to replace the rhodium used, and deionised water to replace the water that evaporates. The calculator tells you how much replenisher to add after each job. Rinse your work back over the bath with deionised water, so no solution is lost.
Bath life
Contamination usually ends the life of a rhodium bath long before the rhodium runs out. Acid also builds up a little with each addition of replenisher. Replace the solution when it stops plating as it should.
Storage
Keep hermetically sealed when not in use, for example with PVC cling film over the beaker (not stretched tight, as this can cause punctures), or pour back into its bottle. Keep away from sunlight.
Preparing the surface for electroplating - creating a water break-free surface
Good surface preparation is essential for successful electroplating.
Before you start plating, you need to make sure your item has a water break-free surface.
This means removing grease, oil, polishing compounds and other contamination so that water flows evenly across the metal without forming droplets.
There are two ways to achieve this using Spa Plating products: cleaning by hand with MPU or powered cleaning with our Cleaner and MultiPlater.
This guide will first explain what a water break-free surface looks like and then take you through the steps to achieve this.
What does a water break-free surface look like?
In the photograph you can see water droplets on the top half of the copper sheet and a smooth film of water on the bottom half.
The top half with the water droplets shows that the surface is contaminated with dirt and grease which encourages the water to gather into droplets. This surface is not suitable for electroplating and needs to be cleaned.
The bottom half has been degreased and cleaned and consequently the water runs off in an unbroken sheet. This shows that it is ready for plating.
Achieving a water break-free surface; stage 1 - Degreasing
Degrease with solvent and/or a liquid detergent.
If you’re using a solvent to remove any polishing compound, make sure you then use liquid detergent to completely remove any oil or grease that remains.
Rinse thoroughly under running water to remove the remains of the liquid detergent.
Achieving a water break-free surface; stage 2 - Cleaning with MPU and /or Cleaner
Clean your work with our MPU by rubbing it all over with tissue.
You do not need to rinse off the MPU before you start plating but if you want to check the surface of your work is ready for plating you will need to hold it under running water to see if any water breaks appear.
You can also use your MultiPlater to power the cleaning stage. For this you will need to use our Cleaner, either in one of our cleaning beakers or with our pen or brush plating equipment. It is still a good idea to use our MPU however before the powered cleaning stage.
Whether you just use MPU or MPU plus powered cleaning with your MultiPlater and Cleaner the choices you make will depend on the thing you are plating and the plating solution you want to use.
Whichever route you go down, your ultimate aim is to achieve a water break-free surface.
Final check for a Water Break-Free Surface
Once you’ve completed the degreasing and cleaning stages, it’s time for the final check.
Hold your item under gently running water and watch how the water behaves.
If it flows evenly across the surface without forming droplets or breaking apart, your item has passed the water break-free test.
However, if the water gathers into droplets or pulls away from certain areas, repeat the appropriate degreasing and cleaning steps.
Don’t start plating until you’ve achieved a water break-free surface.
Rhodium Tank Plating Solution – Troubleshooting Plating Faults
If you are using a MultiPlater, the red light remains on, indicating that no current is flowing. A conventional power supply will show zero amps.
Check all electrical connections and contact points, and clean the contact points if necessary. If you are unsure whether the surface itself is electrically conductive, check it with the Conductivity Tester before continuing.
Reverse polarity
Current may still flow, but rhodium does not deposit. The workpiece may show signs of being etched.
Correct the polarity: workpiece negative (–), platinum rod electrode positive (+).
Trying to plate directly onto a PVD coating
PVD coatings are often mistaken for chrome or gold plate. Little or no rhodium may deposit, or irregular swirling or streaked marks may appear across the surface.
We advise against plating directly onto the PVD coating. Remove the PVD coating completely, then prepare and plate the underlying surface.
Existing clear coat, lacquer or E-coating on the surface
A continuous clear insulating coating prevents electrical contact with the underlying metal, so no rhodium plates. With a MultiPlater, the indicator remains red because no current is flowing.
Completely remove the coating to expose the underlying metal, then prepare it using the appropriate process before plating.
Dark or burnt deposit, especially on corners and edges
Possible cause
Diagnostic clue
Corrective action
Plating at a set voltage instead of a calculated amp setting
Many customers run their rhodium baths at a fixed voltage, often following advice from previous suppliers or the internet, rather than measuring the surface area and using the calculator to set the amps. Plating at a fixed voltage makes a burnt deposit, or a deposit that’s too thin, much more likely.
Work out the surface area of the work in cm², enter it into the Rhodium Tank Plating Calculator, and set the amps it gives. Don’t set the voltage.
Rhodium concentration has crept above its normal level
Burning appears after too much Rhodium Tank Replenisher has been added, or after a lot of evaporation without topping up.
If evaporation is the cause, top the solution back up to its original level with deionised water. If too much replenisher has been added, don’t add any more, and reduce the amps until the burning stops. Return to the normal amp setting as the excess rhodium plates out.
Solution operated at room temperature
Burning is more common when the solution is cold, especially if the concentration of rhodium is on the high side.
Warm the solution to 40 °C, the temperature the calculator is set for.
Unplated areas
Possible cause
Diagnostic clue
Corrective action
Inadequate cleaning
Rhodium fails to deposit in isolated areas, often with an irregular boundary. A water-break during rinsing can indicate remaining grease or contamination.
Repeat the surface preparation (see the Surface Preparation tab), making sure you achieve a water break-free surface before plating.
Nickel or stainless steel not prepared correctly
Plating takes on silver or gold but fails on nickel or stainless steel.
Hydrogen gas bubbles on the surface of the work during plating
Tiny pinholes rather than true pits, because too little rhodium is plated to build up around the bubbles. Many of the bubbles form on the work itself, so they can’t be eliminated completely.
Fit an Anode Bag to the platinum electrode to stop bubbles from the electrode reaching the work, and keep agitation medium, as recommended in the Tech Specs tab, to help carry bubbles away from the work. Together these reduce pinholing, but can’t eliminate it completely.
Vertical tide marks
Possible cause
Diagnostic clue
Corrective action
Gas bubbles coalescing and travelling up the surface of the work
Vertical streaks or tide-like marks form in the direction the bubbles rise. They are more likely on thin, flat articles.
Fit an Anode Bag to the platinum electrode to reduce the amount of bubbles in the solution. Adjust the position of the work and the agitation so that bubbles are carried away rather than running up the plated surface. A stirrer with a reversing action, or gently moving the article by hand during short plating times, helps stop permanent streaks forming.
Plating fails the adhesive tape test, cracks or flakes off
Possible cause
Diagnostic clue
Corrective action
Inadequate cleaning or activation
The rhodium comes away on the adhesive tape.
Remove the poorly adhered deposit and repeat the surface preparation (see the Surface Preparation tab) before replating.
Incorrect preparation method for the metal being plated
Adhesion problems occur consistently on a particular underlying metal even though the surface appears clean.
Check the Process Sequences tab and use the correct plating sequence for the metal being plated.
Existing plating layer is poorly adhered
The plating comes away together with an underlying plating layer. Examine the underside of the material removed by the tape. Its colour shows which layer has failed.
Remove the unstable plating back to a sound, well-adhered surface before replating. A new rhodium deposit cannot improve the adhesion of an unstable underlying layer.
Rhodium plated too thick
Plated much above the recommended thickness, the highly stressed deposit cracks and flakes off.
The solution level gradually falls during use, particularly when the solution is warm or left uncovered. Evaporation removes water but leaves the rhodium and other dissolved constituents in the bath.
Top the solution back up to its original working level with deionised water. We advise against using Rhodium Tank Replenisher to replace evaporated water.
Dragout
Plating solution is carried out on workpieces and holders when they are removed from the bath, particularly where solution collects in holes or recesses.
Rinse your work back over the bath, as described under Topping up in the Tech Specs tab. Replace any solution lost through dragout with fresh Rhodium Tank Plating Solution, as water alone will not replace the lost rhodium and other dissolved constituents.
Incorrect plating thickness
Possible cause
Diagnostic clue
Corrective action
Plating at a set voltage instead of a calculated amp setting
Working at a set voltage gives inaccurate thicknesses, especially when plating items with different surface areas.
Work out the surface area of the work in cm², enter it into the Rhodium Tank Plating Calculator, and set the amps it gives. Don’t set the voltage (see dark or burnt deposit above).
Incorrect surface area estimated or calculated
The measured thickness differs from the target even though the calculated amp setting and plating time were used. Irregular shapes, edges, recesses and multiple surfaces are easily underestimated.
Recheck the total surface area in cm² and enter the corrected area and required thickness into the Rhodium Tank Plating Calculator. If you are unsure how to estimate the surface area, ask our Technical Assistant for help.
Wrong temperature chosen in the calculator
The solution plates twice as fast at 40 °C as at room temperature, so choosing the wrong setting doubles or halves the thickness.
The plating rates are based on medium agitation. With gentle or no agitation, the deposit is thinner than expected.
Keep agitation medium, as recommended in the Tech Specs tab.
Deposit is off-colour (yellow, grey or milky) instead of bright white
Possible cause
Diagnostic clue
Corrective action
Copper contamination of the solution
This is by far the most likely cause. Copper gets into the solution from copper or brass wire, jigs or hooks, or from copper and copper-alloy work without a barrier layer, which the acid solution attacks.
Copper cannot be removed effectively by dummying: little copper plates out, and a lot of rhodium is lost with it. If the deposit is still off-colour after a short dummying test, dispose of the solution as described in the SDS, or send it for rhodium reclaim. To prevent it, use our Gold Plated Jigging Wire rather than copper or brass wire, jigs or hooks, and make sure copper and copper-alloy work has a barrier layer.
Silver contamination of the solution
Silver gets into the solution from silver work. Even a very small amount affects the colour.
Silver can be removed by dummying: plating onto a scrap sheet at a low current until the silver has plated out. Use a corrugated sheet of stainless steel, platinised titanium or old rhodium-plated metal (not brass or nickel) as the work, with good agitation. Set the amps to about a tenth of the setting the Rhodium Tank Plating Calculator gives for normal plating. Plate a test piece before and after to check that the colour has returned. Dummying always uses up some rhodium. If the solution is already low in rhodium, or the contamination is severe, dispose of the solution as described in the SDS, or send it for rhodium reclaim.
Rhodium concentration too low
Low rhodium makes even trace copper or silver contamination much more visible in the colour of the deposit.
Top up with Rhodium Tank Replenisher. Raising the rhodium level reduces the effect of trace copper or silver. If you suspect silver, dummy the solution first (see silver contamination above), then top up. Dummying uses some rhodium, so top up afterwards. Dummying won’t help with copper. There’s no guarantee either way. If the deposit is still off-colour, dispose of the solution as described in the SDS, or send it for rhodium reclaim.
Organic contamination
Detergents carried in from the cleaner on poorly rinsed work, and polishing residues or debris trapped in holes and recesses.
Treat the solution with Carbon Powder. To prevent it, rinse thoroughly after the cleaner and clean out holes and recesses before plating.
Deposit is discoloured after using a stainless steel electrode
Possible cause
Diagnostic clue
Corrective action
The stainless steel electrode dissolves in the acid solution, contaminating it with iron, chromium and nickel
A stainless steel electrode has been used in place of the platinum one. The deposit loses its bright white colour, and the electrode may look etched.
We strongly advise against using stainless steel electrodes in Rhodium Tank Plating Solution. Use a Platinum Rod Electrode for Beaker Plating, preferably fitted with an Anode Bag. If the deposit stays discoloured, dispose of the solution as described in the SDS, or send it for rhodium reclaim.
Silver jewellery tarnishes some time after rhodium plating
Possible cause
Diagnostic clue
Corrective action
The rhodium is too thin to seal the silver
Typically under about 0.03 micron, the silver can tarnish through pores or fine cracks in the deposit. The piece looked bright and white after plating but discolours weeks or months later. Rhodium itself doesn’t tarnish.
Plate to the recommended 0.1–0.3 microns, using the Rhodium Tank Plating Calculator to set the amps and time rather than plating at a set voltage. See the Process Sequences tab for the recommended sequence for silver.
Rhodium Tank Plating Solution – Examples
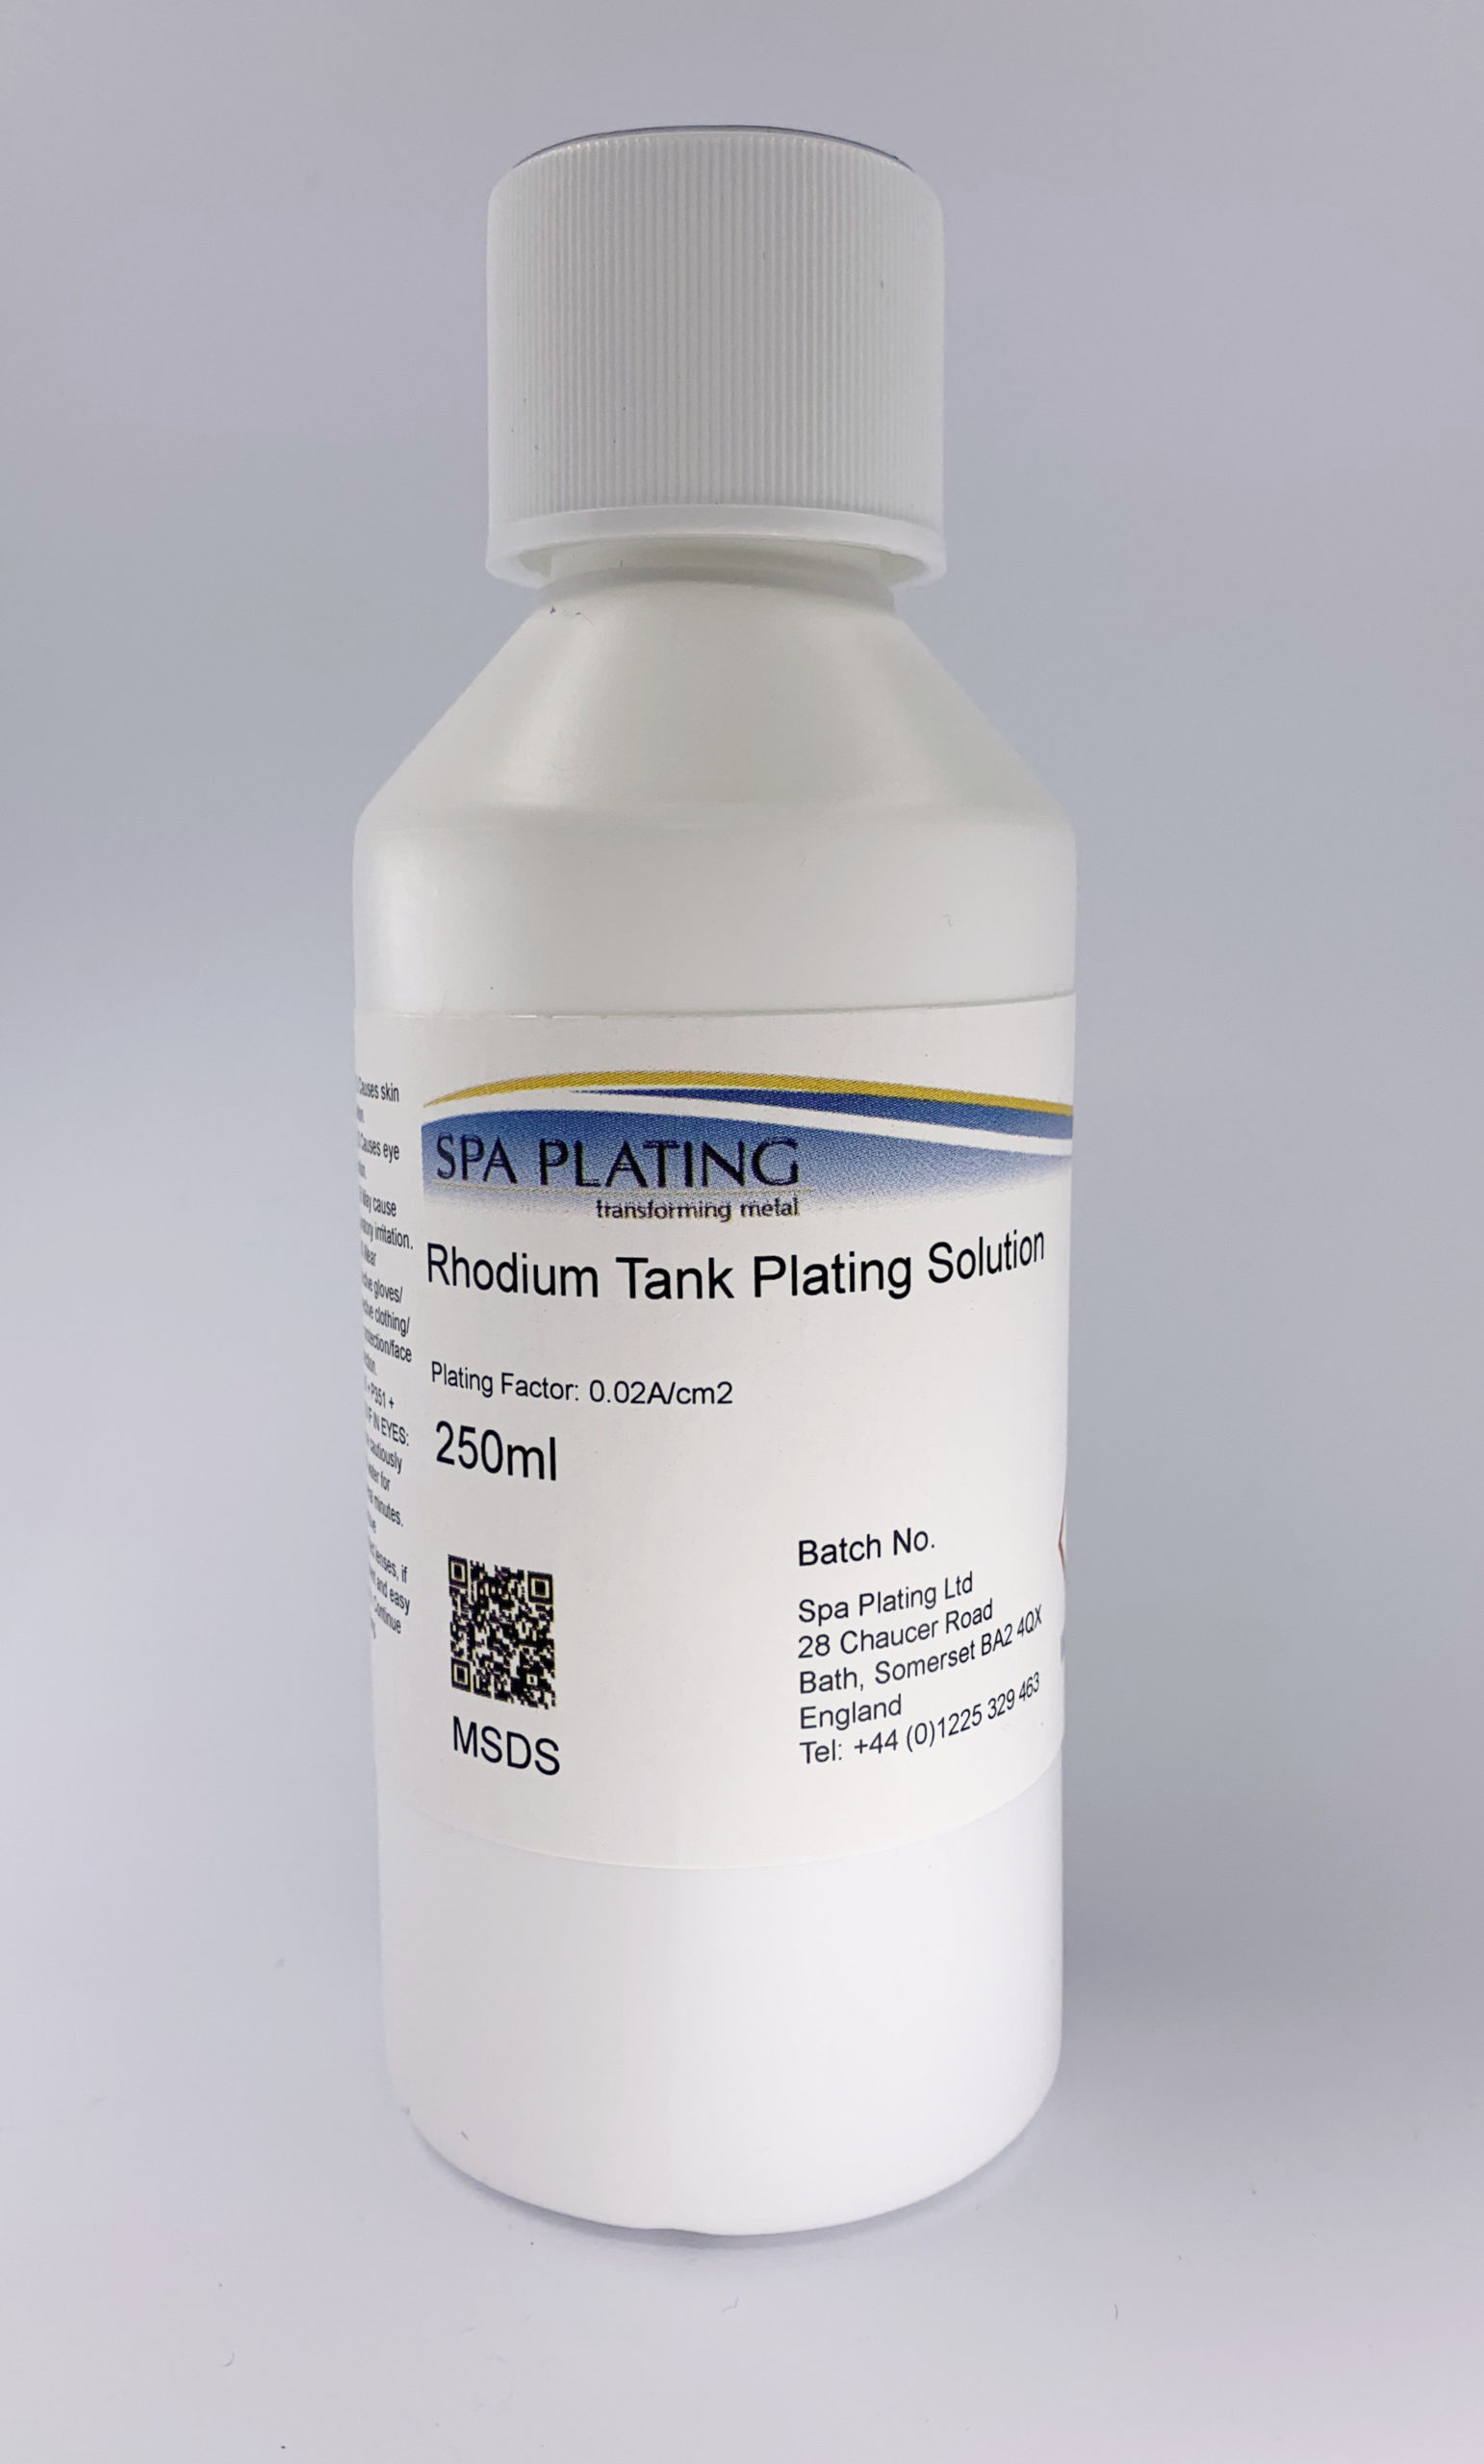
Our Rhodium Tank Plating Solution is specifically developed to work with our rhodium tank plating kits.
It will deliver very bright, white layers of rhodium to controlled thicknesses. To keep your Rhodium Tank Plating Solution topped up, use our Rhodium Tank Replenisher.
Select the plating temperature: Room temperature or 40 °C. See the notes below.
Enter the required thickness in microns. One micron is one thousandth of a millimetre. We recommend between 0.1 and 0.3 microns.
Enter the surface area you are plating in square centimetres (cm²).
Click ‘Calculate’.
Read the amp setting for your power supply (for example, our MultiPlater) and the plating time. Time is shown as hours:minutes:seconds.
If using a coulometer, use the Coulombs (C) result as your target charge. Start from zero and plate until the counter reaches this value, using the amp setting shown.
The next result shows the volume of Rhodium Tank Replenisher to add after plating, to restore the starting rhodium concentration.
The estimated weight of rhodium plated is shown in grams. An approximate cost of the job is also displayed when a solution price has been set.
Click ‘Print Page’ to print a report containing your selected temperature, inputs and results.
Notes
The solution plates twice as fast at 40 °C as at room temperature.
When using the Coulometer, avoid creating a short circuit: charge passed through a short circuit does not contribute to the deposit and can make the reading inaccurate or invalidate the result.